
Introduction to Woodchuck Crafting
Creating a woodchuck can be a rewarding and engaging woodworking project. In this tutorial, we will guide you through the essential steps to craft a woodchuck from start to finish. This guide is suitable for both beginners and experienced woodworkers.
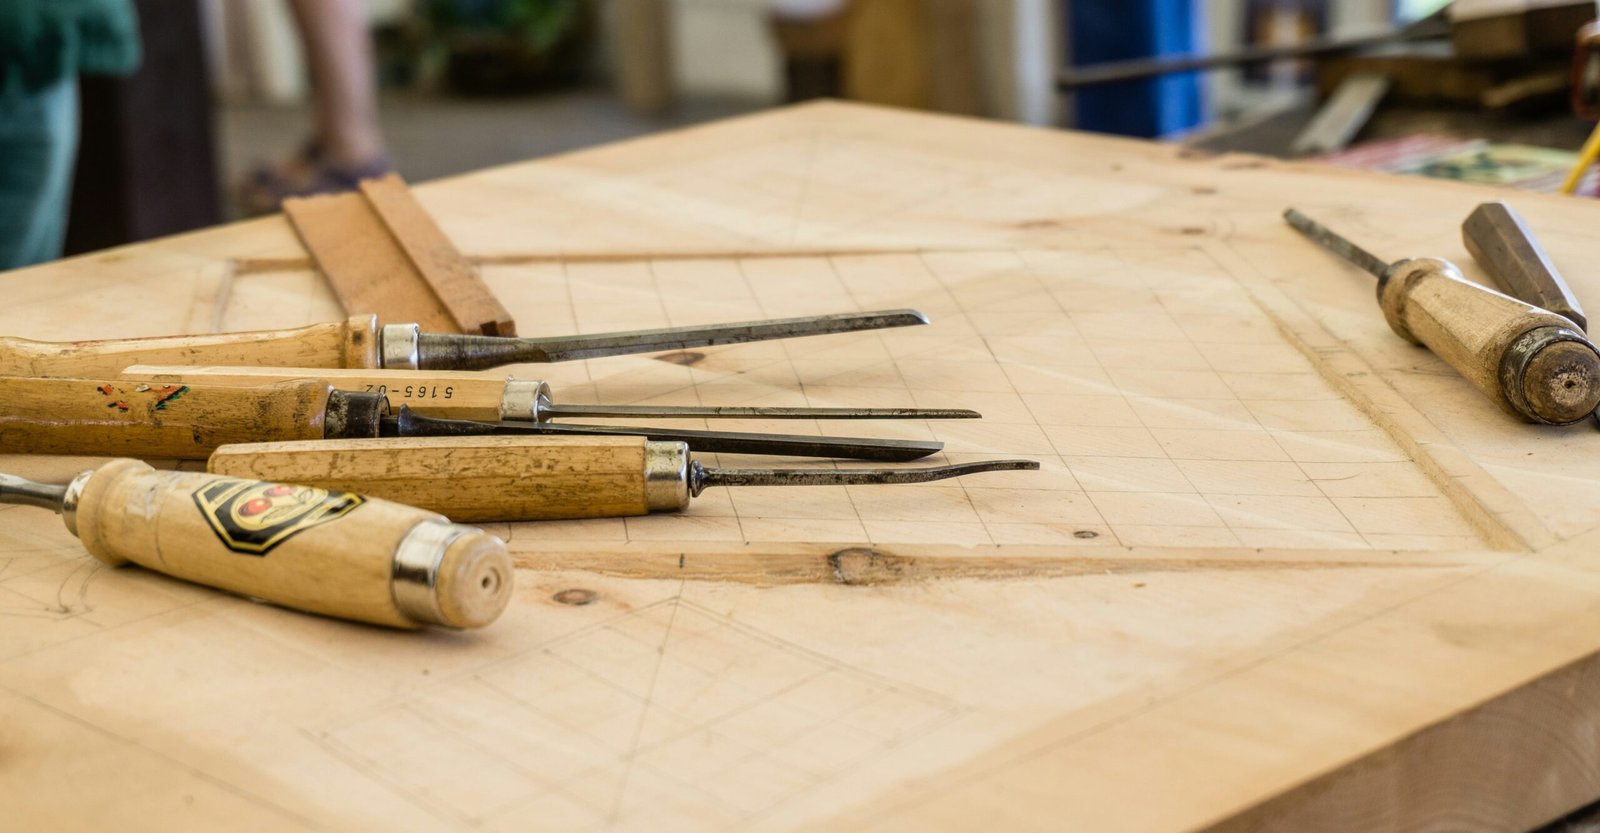
Materials and Tools Needed
Before starting, ensure you have the following materials and tools:
- Wood block (preferably hardwood)
- Carving knives
- Sandpaper
- Paint and brushes (optional)
- Protective gear (gloves and goggles)
Step 1: Preparing the Wood
Begin by selecting a suitable wood block. Hardwood is preferred for its durability. Use sandpaper to smooth out any rough edges and draw an outline of your woodchuck on the surface.
Step 2: Initial Carving
Using your carving knives, start carving the basic shape of the woodchuck. Focus on removing large chunks first, gradually refining the shape as you progress. Ensure you carve in a well-lit area to avoid mistakes.
Step 3: Detailing
Once the basic shape is complete, switch to finer carving knives to add details such as the eyes, nose, and fur texture. Take your time with this step to achieve the desired level of detail.
Step 4: Sanding
After carving, use sandpaper to smooth the entire surface of the woodchuck. Start with coarse-grit sandpaper and gradually move to finer grits for a polished finish.
Step 5: Finishing Touches
If desired, you can paint your woodchuck to add color and personality. Use non-toxic paint and apply in thin, even layers. Allow the paint to dry completely before handling your finished woodchuck.
Conclusion
Crafting a woodchuck can be a delightful and fulfilling project. By following these steps, you can create a charming wooden figure that can be used as a decorative item or a thoughtful handmade gift.
RELATED POSTS
View all
